


Stunned
When I walked in the house yesterday and saw this, I literally cried…
It was so much better than I expected.
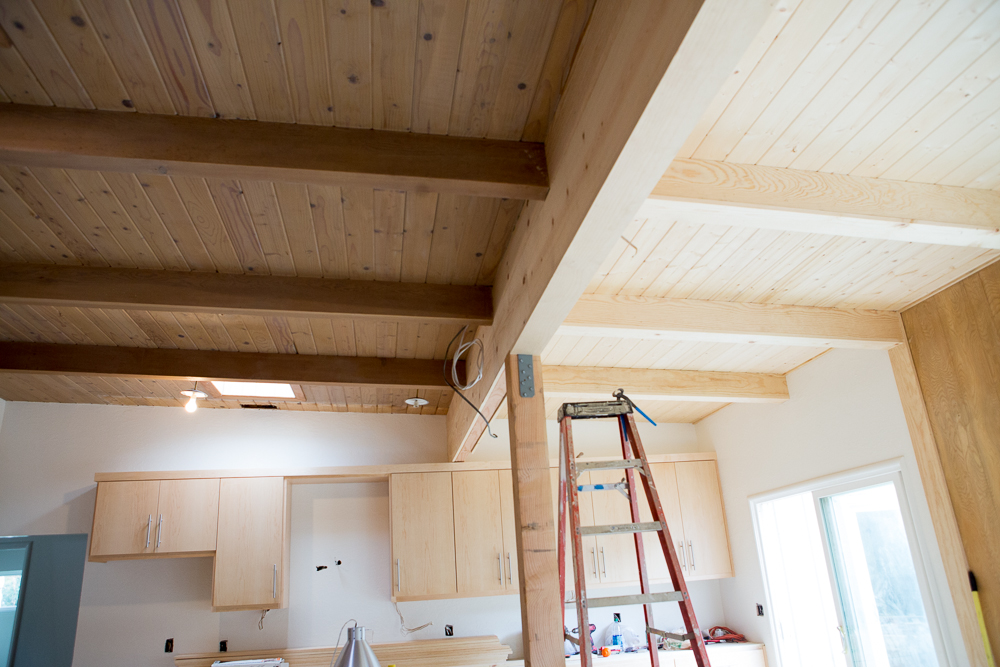
I mentioned in an earlier post that when we increased the size of the family room/kitchen and stole some space from outside, that we would have an issue with the ceiling. Namely, three different finishes. The original ceiling was either left bare wood or it might have been sealed.
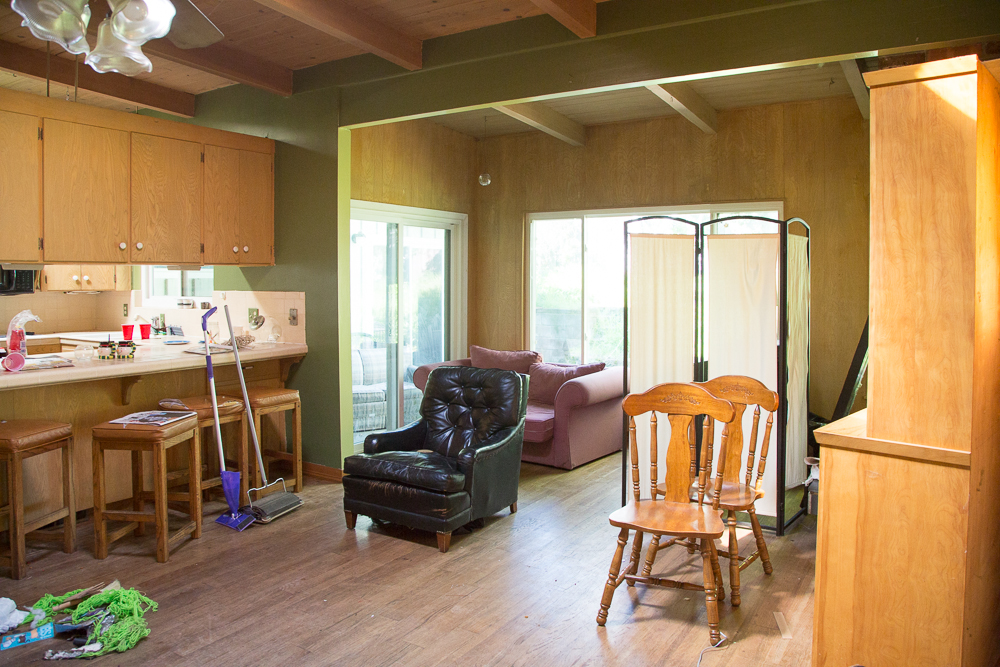
The addition to the home added in the 1960’s

First addition added space and a fireplace
Back in the mid to late 1960’s, my parents added some space where the fireplace is now to the patio door (above first picture.) They also added the wood paneling. The bricks were some of the same bricks used in the original home salvaged from Placerville Grammar School when it was torn down. (My dad went to school at that Grammar School.)
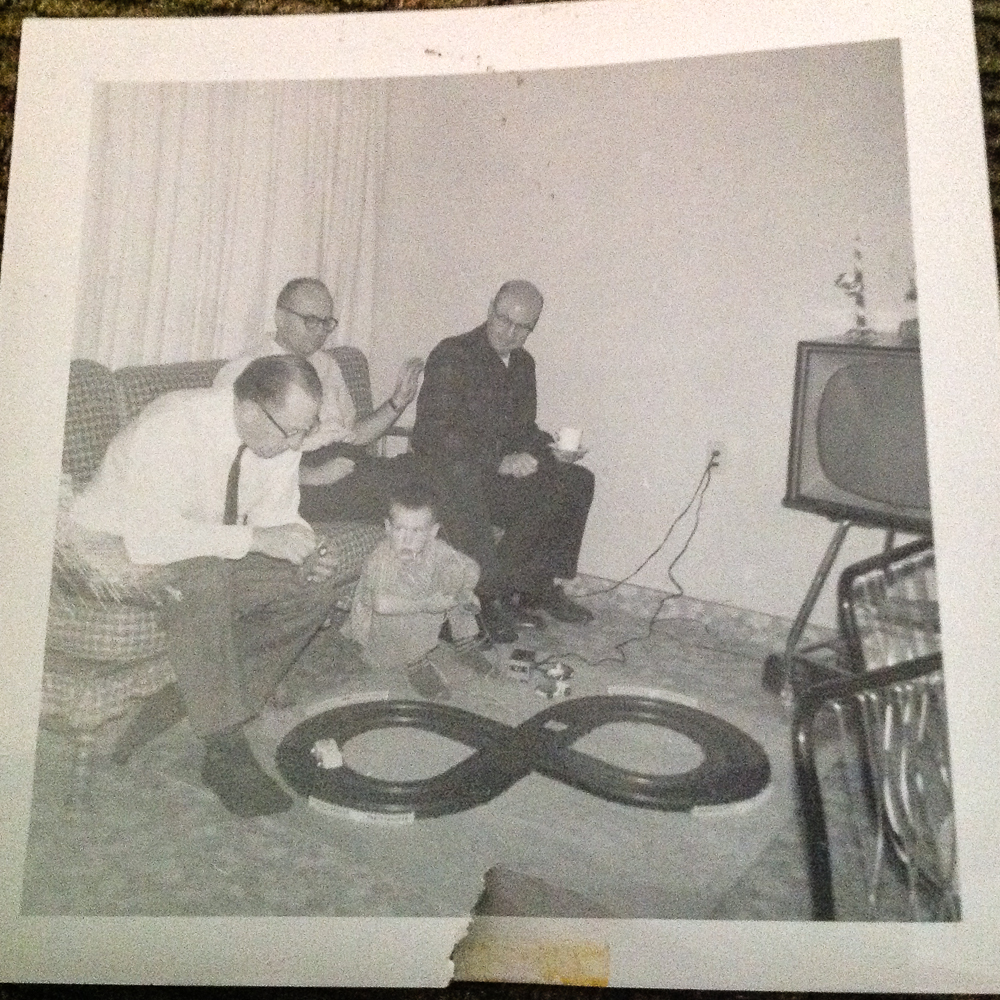
My two grandfathers, my dad and my brother in the original family room
I found this old picture which was taken before the addition. The photo is marked 1963, but I think it was taken a little later than this. But, you can see that there is no paneling and the back of the couch is where the addition started. Anybody remember slot cars?
When they made the addition, the roof/ceiling where the new space was added was stained redwood because it was on the exterior of the house and the entire exterior of the home was stained redwood. I don’t remember the details about how they handled the ceiling so that it would match the rest of the room, but my best guess is that they hired someone to faux paint the ceiling. Whoever painted the ceiling did a good job because I never noticed or thought much about it until a couple of years ago when someone started a fire in the fireplace and forgot to open the flue. We had to hire a faux painter to redo the ceiling and touch up the bricks on the fireplace.
So, when we opened up the new addition, we again had a problem with the ceiling. However, since the time that the original addition was built, my parents had painted the house a blueish gray. So, we had gray ceilings and a redwood stained beam to deal with.

Three different ceilings plus a painted beam
We got an estimate from a local guy to refinish the ceilings (and the paneling due to some fading issues) and it was astronomical. Definite no go. We then thought about sandblasting the ceiling until I read about someone else who had sandblasted the ceiling on their Mid Century Modern and it caused a great deal of pitting.
Our contractor suggested refacing the ceiling and I was a little hesitant, but he gave us a decent price, so we went with it.
Holey Smokes! It looks great!
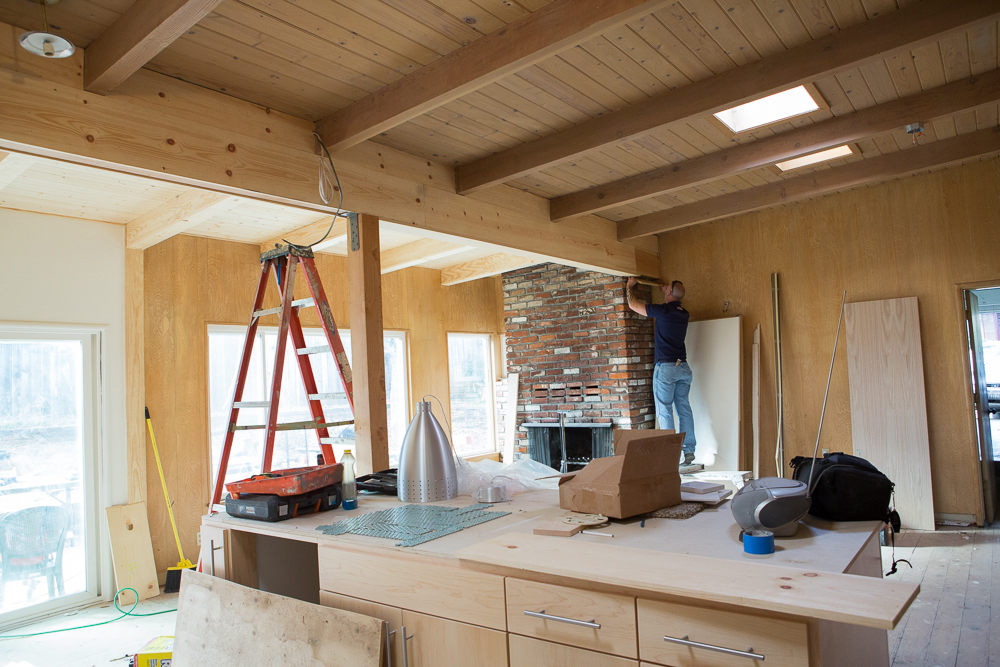
New facing on beam and on ceiling in additions

New ceiling
We will probably leave it unfinished because it will eventually begin to fade and match the old ceiling. All in all I am very happy with the result.

Front Door with Old screen
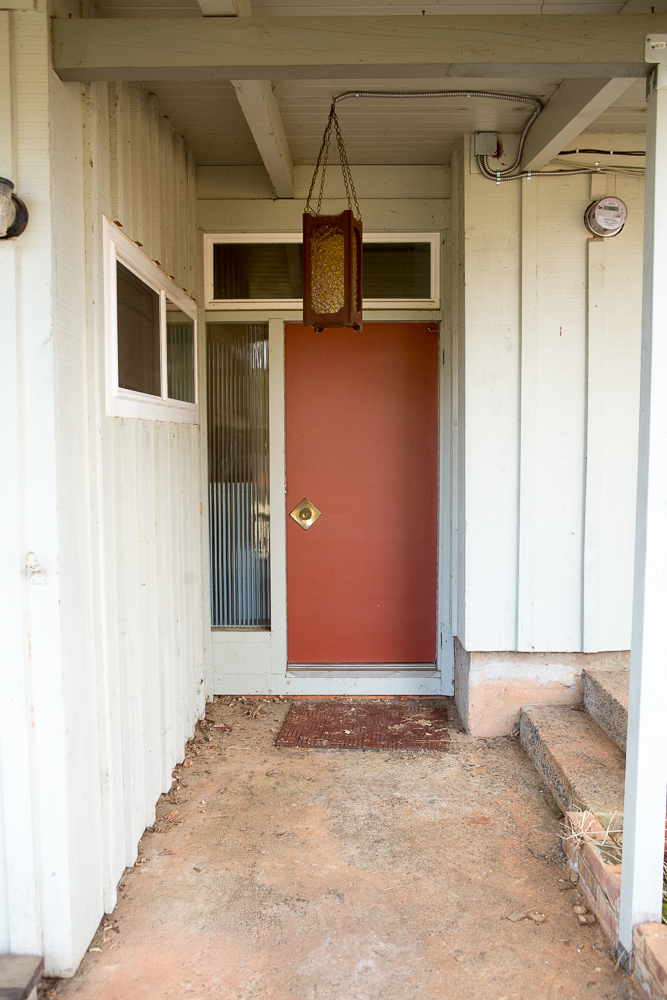
screen removed
That screen door had been bugging me since we started this project. It was original to the house (circa 1961) and it had seen much better days. Originally, we did not have air conditioning, so the screen door was necessary to help cool off the house at night. In those days, we left all the doors and windows open overnight and never worried about someone trying to break in. I don’t think I would be quite so trusting today.
We finally took the screen door off and even without painting the door or fixing up the hardware, the front entry looks better.

Good Riddance
I don’t think we will replace the screen door because the entry looks better without it.
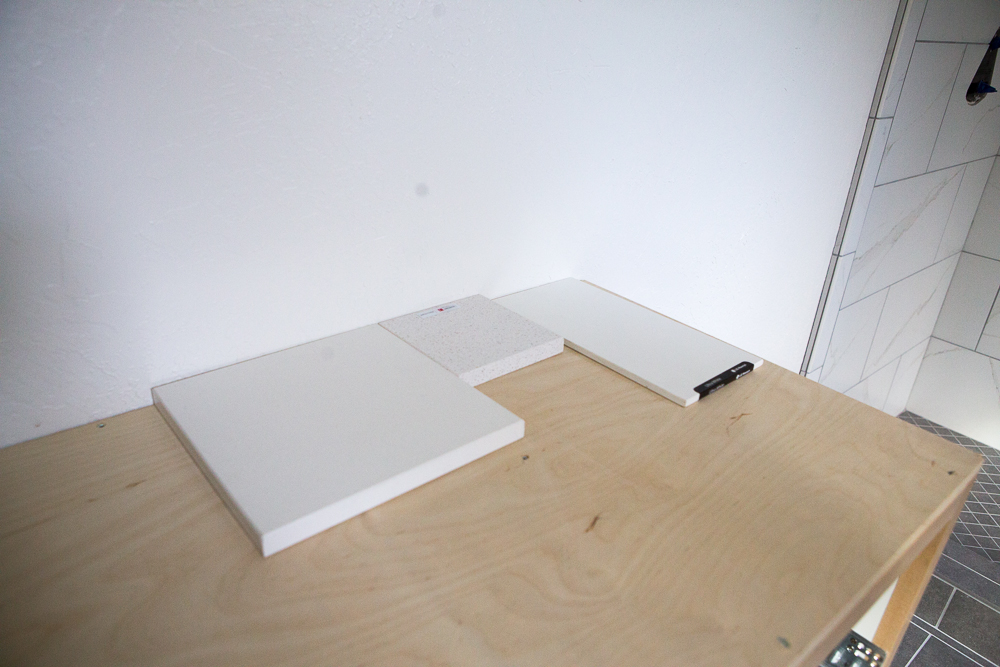
Original choice (right) and two candidate samples
We finally decided on the counter-top material, a white quartz (far right sample above.) It looks a little gray in this shot because it was taken in the late afternoon in the Master Bath, which doesn’t get much light at that time of day. On Friday, we found out that this particular choice would add about $1,000.00 to our original bid because of the size of the slab offered by this manufacturer. The slab sizes are not as long as some of the other manufacturers so he would have to order three slabs instead of two. Just a tiny piece of the third slab would be used…the size of one of the vanities. The rest of the slab would be overage and an additional $1000.00. He suggested that we choose a different, but similar, piece for one of the bathrooms. He had a couple of remnants which were similar and would stay within our original budget.
I thought that was a great idea and took the two optional samples and the original choice over to the house to have a look.
I cannot emphasize enough that you need to look at your samples in the environment where they will be used, whether it be counter-tops, flooring, paint, whatever. The showroom lighting does not give you a good idea of how the material will look in your project. It can be a real pain to run back and forth from the store to the project, but it is certainly a lot less painful than ordering something based on how it looks in the store and than finding out it is a little pinkish (which happened in my case) after you had ordered it. In the above case, we chose the sample closest to the camera (left hand side) because, although I liked the flecks of quartz in the middle sample, it was a little pinkish. Pinkish was not a look I was going for.
We also had carpet installed in the house where we are living presently. This is part of our plan to get it ready for sale. We haven’t had carpet in our Master Bedroom since we remodeled it about 5-6 years ago. I wish we had done it sooner. It feels great, makes a huge difference in the temperature in that room and it looks wonderful. We also replaced all the carpeting on the stairs and the entire upstairs (includes three bedrooms). Corby has given the upstairs resident (my youngest son) strict “no shoes on the carpet” warnings. One of these days, I will put up some pictures of our present house so you can see what we are doing to get it ready to sell. It has been another huge project.
Meanwhile, here’s a pretty sunset picture I took when I went on a photo adventure with two of my photog buddies. We drove down to Mare Island and then to Chinatown in San Francisco. We caught this view on the way home. Good times.

San Francisco Bay with Mt. Tamalpais and sunset
